Starting an online store sounds exciting until you’re staring at your computer screen, wondering where to actually begin. Should you register a business first? What about taxes? And how do you get people to buy from you once everything’s set up?
Opening a Shopify store in 2026 doesn’t have to feel overwhelming. The platform now powers over 4.5 million live websites, and there’s a reason entrepreneurs keep choosing it. With the right approach, you can launch a professional-looking store and make your first sale within weeks.
This guide walks you through every step of building your Shopify store—from picking what to sell to processing your first order. We’ll cover the practical stuff that matters: choosing the right plan, setting up payments, creating product pages that convert, and attracting your first customers.

Table of Contents
- Understanding Shopify Store Basics
- Choosing What to Sell
- Business Registration and Legal Requirements
- Creating Your Shopify Account
- Understanding Shopify Pricing Plans
- Designing Your Store
- Adding Your First Products
- Setting Up Payment Methods
- Configuring Shipping and Taxes
- Domain Setup and Store Policies
- Pre-Launch Checklist
- Getting Your First Sale
- Frequently Asked Questions
What is Shopify?
Shopify is an all-in-one e-commerce platform that handles the technical side of running an online store. Instead of building a website from scratch or dealing with separate hosting, payment processors, and inventory systems, everything lives in one place.
Think of it as renting a storefront in a mall where the infrastructure’s already built. You get the store space, security, checkout system, and basic tools. Your job is to stock it with products and bring in customers.
The platform works for different business models. You can sell physical products you make or source, digital downloads like ebooks or printables, dropshipping items that ship directly from suppliers, or even print-on-demand merchandise. Some sellers use it for both online and in-person sales through Shopify POS features.
What makes Shopify practical for beginners is its dashboard. You’ll spend most of your time in the admin panel, where you can add products, track orders, adjust your store design, and view analytics. Most tasks use simple point-and-click interfaces rather than requiring technical skills.
Why Choose Shopify in 2026
Several platforms let you sell online, but Shopify holds 10.32% of the global e-commerce market for specific reasons. The checkout process converts 15% better on average than other platforms, which means more browsers become buyers.
You can start selling across multiple channels without managing separate systems. Your inventory syncs automatically whether someone buys from your website, Instagram, Facebook, TikTok, or Amazon. This saves hours of manual updating and prevents overselling.
The app store offers thousands of add-ons for everything from email marketing to SEO optimization. As your store grows, you can add features without switching platforms or hiring developers.
Security is handled through Level 1 PCI DSS compliance, which protects customer payment information. You won’t need to worry about SSL certificates or maintaining secure payment processing—it’s included in every plan.
Choosing What to Sell
Your product choice shapes everything else about your store, from startup costs to marketing strategy. Take time to think through this decision before jumping into store setup.
Four Main Product Models
Each selling approach comes with different requirements and profit potential:
Dropshipping: You list products from suppliers who handle inventory and shipping. When someone orders, you purchase from the supplier at wholesale price and they ship directly to your customer. Startup costs stay low since you don’t buy inventory upfront. The tradeoff is smaller profit margins and less control over product quality and shipping times.
Handmade Products: Creating items yourself lets you charge premium prices and build a unique brand. Customers often pay more for one-of-a-kind pieces. But production takes time, which limits how many orders you can fulfill as demand grows.
Digital Products: Selling ebooks, courses, templates, or software eliminates shipping costs and inventory concerns. Once created, digital products can sell indefinitely with minimal overhead. The challenge is standing out in competitive markets and preventing unauthorized sharing.
Branded Merchandise: You can work with manufacturers to create products with your designs, either through private labeling or print-on-demand services. This approach builds brand identity but may require larger initial investments for inventory.

Finding Profitable Product Ideas
Looking at current trends helps identify opportunities. Popular categories in 2025 include shirts and tops, moisturizers and skincare, phone accessories, vitamins and supplements, and pet products. These categories show consistent demand across different customer groups.
But following trends blindly doesn’t guarantee success. Consider these factors when evaluating product ideas:
Profit margins matter more than you think. Calculate total costs including the product, shipping materials, platform fees, and marketing. Aim for at least 30-40% margin after all expenses to leave room for growth and mistakes.
Shipping logistics can make or break product viability. Heavy, fragile, or oversized items cost more to ship and arrive damaged more often. Small, durable products tend to be easier for beginners.
Competition level affects how quickly you can gain traction. Extremely saturated markets make it harder to stand out, while niche products with specific audiences can be easier to market despite lower search volume.
Personal knowledge or passion for a product category helps with content creation and customer service. You’ll create more convincing product descriptions and answer questions more confidently when you understand what you’re selling.
Business Registration and Legal Requirements
The legal side of starting a store varies by location and what you’re selling. You don’t need perfect paperwork to begin, but understanding basic requirements prevents headaches later.
Business Structure Options
Most small online sellers start as sole proprietors without formal registration. This is the simplest approach—you operate under your own name and report income on personal tax returns. The downside is unlimited personal liability if someone sues your business.
As sales grow, many sellers register as an LLC (in the US) or similar structure in other countries. This creates separation between personal and business finances and offers liability protection. The registration process typically costs $50-500 depending on your state or country.
You might need specific licenses or permits depending on your products. Food, cosmetics, and alcohol require special permits in most regions. Check your local government website for requirements in your area.

Tax Obligations
Online stores must collect sales tax or VAT in regions where they have “nexus”—a significant business presence. In the United States, this typically means collecting tax in states where you have inventory, employees, or exceed certain sales thresholds.
Shopify can automatically calculate and collect tax at checkout, but you’re responsible for registering with tax authorities and remitting payments. Most regions require quarterly or monthly tax filings once you start selling.
Keep records of all expenses from day one. Software costs, product purchases, shipping supplies, marketing expenses—these all reduce your taxable income. Many sellers use accounting software like QuickBooks or Wave to track everything automatically.
Consider consulting a local accountant for specific guidance. Tax rules change frequently, and professional advice often pays for itself in saved time and avoided penalties.
Creating Your Shopify Account
Setting up your account takes about 10 minutes. The platform guides you through basic questions to customize your experience.
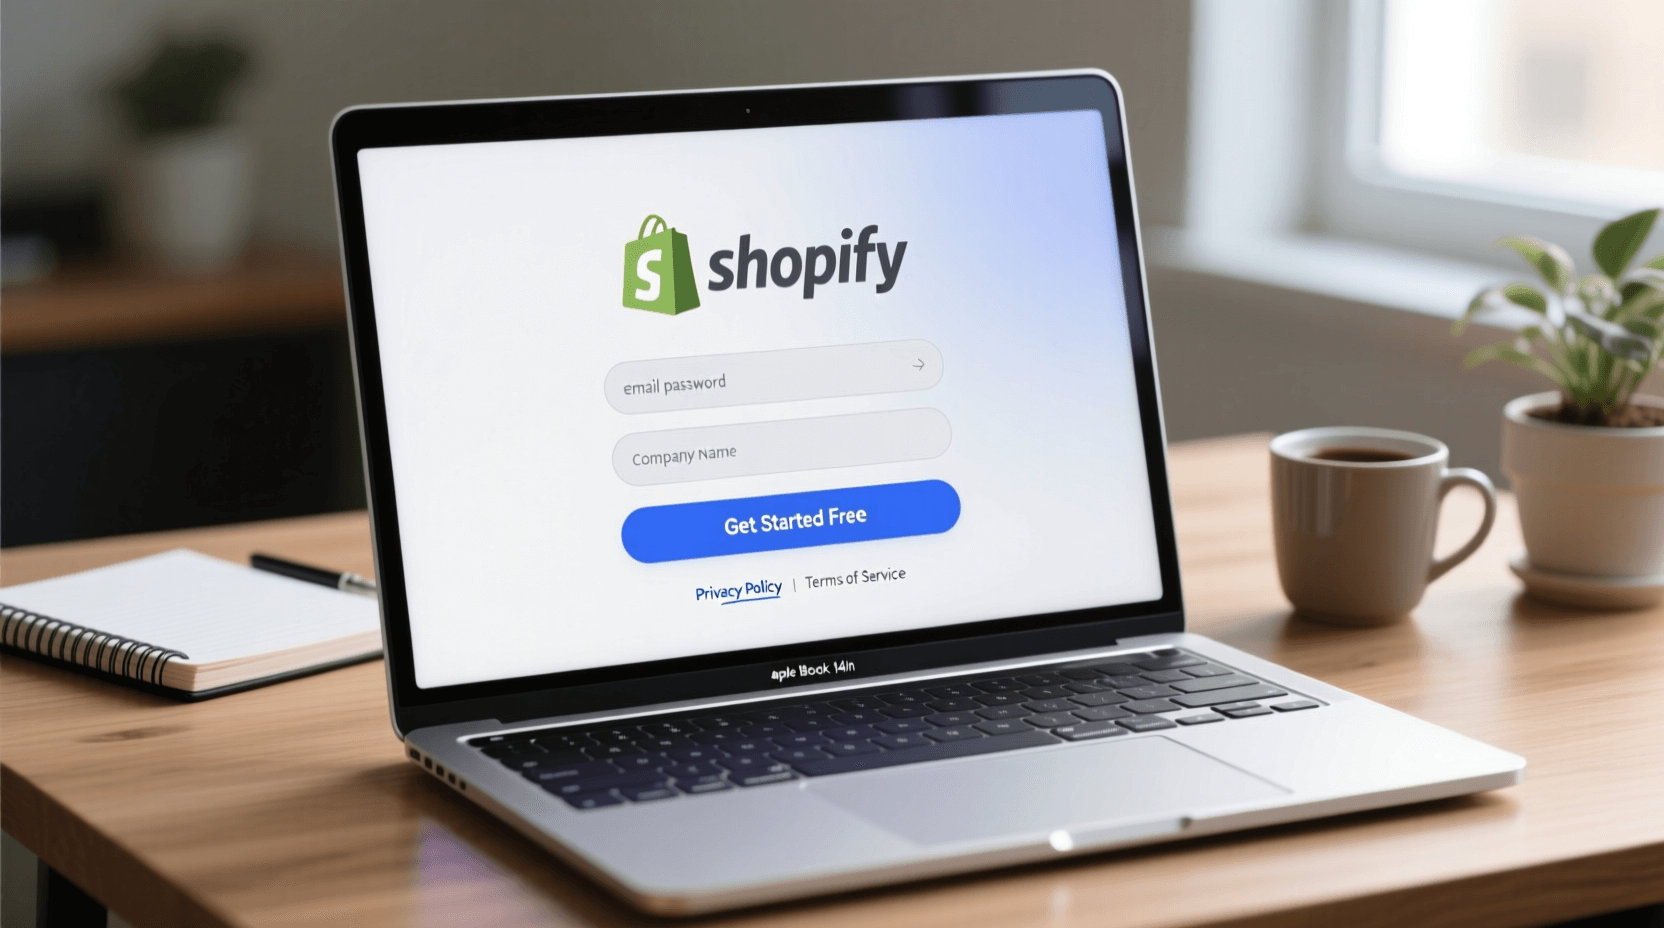
Initial Setup Process
Visit Shopify’s website and click “Start free trial.” You’ll get three days to explore the platform completely free, followed by your first month for just $1.
Choose an email address you’ll check regularly—this becomes your store’s primary contact point. Using a professional email (like yourname@yourbusiness.com) looks more legitimate than free services, though you can upgrade this later.
Shopify asks about your business during signup: what you plan to sell, whether you’ve sold before, and your revenue expectations. These questions help customize your dashboard, but your answers don’t lock you into anything.
You’ll receive a temporary URL like “yourstore.myshopify.com” immediately. This lets you build and test your store before connecting a custom domain.
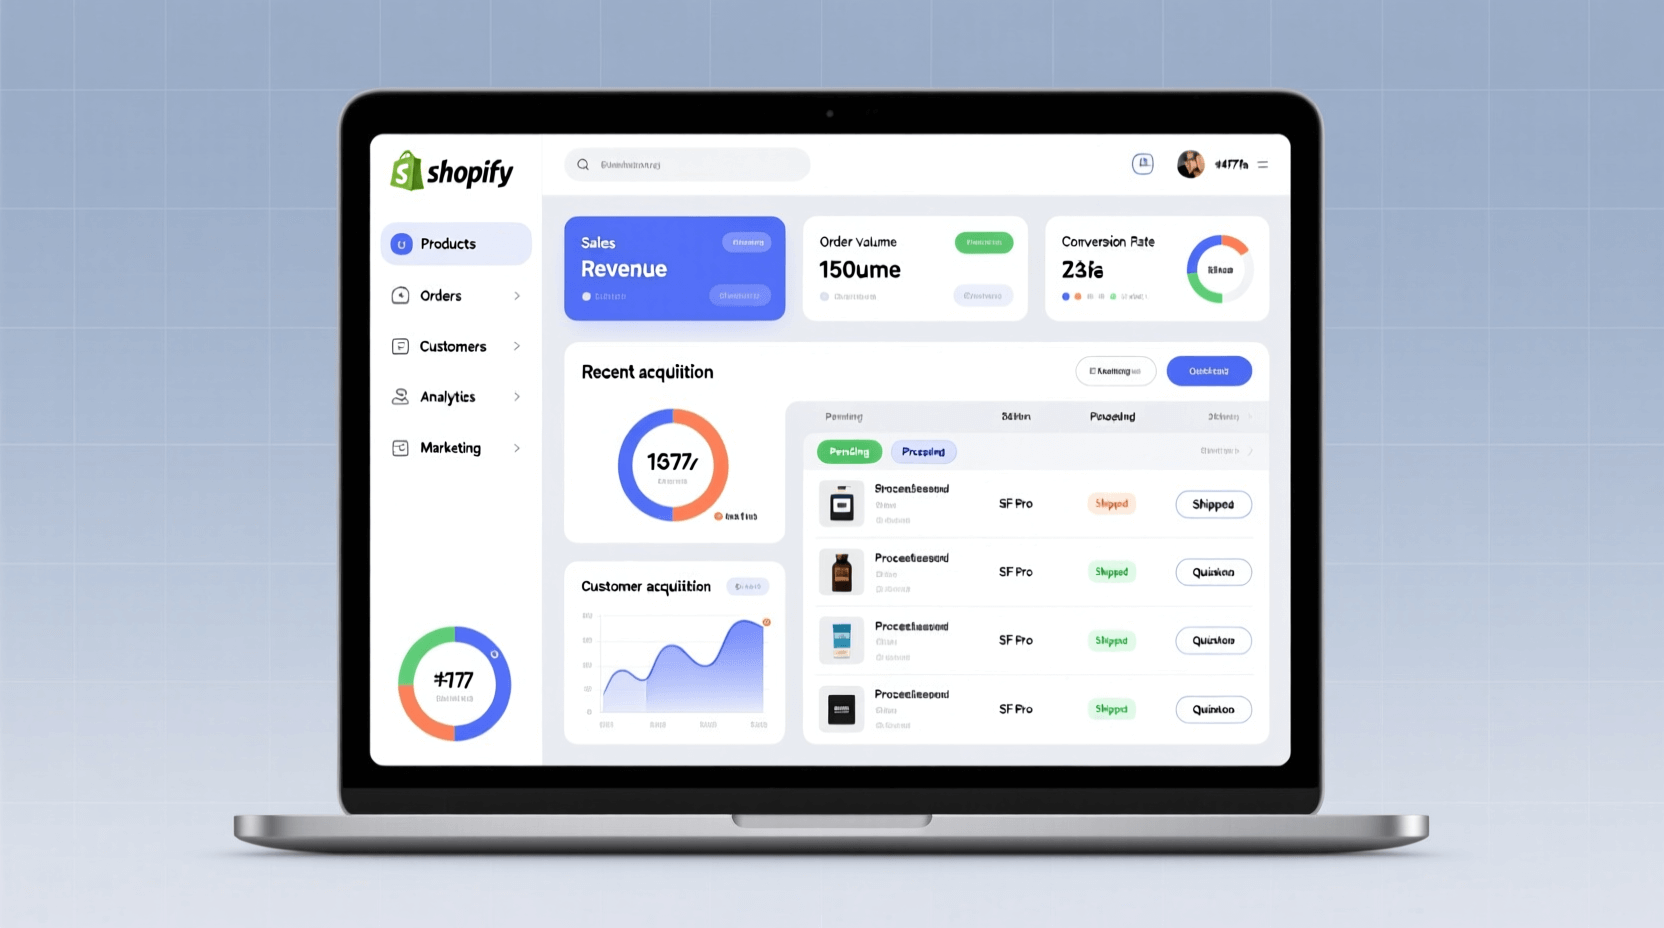
Navigating the Admin Dashboard
After signup, you’ll land in the Shopify admin dashboard. The left sidebar holds main sections:
Home shows recent activity and tasks to complete. Orders tracks purchases and lets you fulfill them. Products is where you add and manage your catalog. Customers stores contact information and purchase history. Analytics displays sales data and store performance.
Settings (bottom left) controls everything from payments to shipping zones. You’ll visit this section frequently during initial setup.
The setup guide appears at the top with recommended tasks like adding products and choosing a theme. These suggestions provide a logical order for building your store.
Take 15 minutes to click through each menu section. Knowing where everything lives saves time when you need to make changes later.
Shopify Pricing Plans
Shopify offers several pricing tiers, and choosing the right one affects your monthly costs and available features. Most new stores start with Basic and upgrade as sales increase.
Current Pricing Structure
The Basic plan costs $39 per month ($29 if paid annually). It includes everything needed to run a basic store: unlimited products, 24/7 support, abandoned cart recovery, and discount codes. You can track inventory across two locations. Payment processing fees are 2.9% + 30¢ per transaction with Shopify Payments, or you’ll pay an additional 2% for using external payment processors.
The Grow plan (formerly called Shopify) runs $105 monthly or $79 annually. It adds standard reports, professional reporting, five staff accounts, and gift card creation. Processing fees drop to 2.7% + 30¢, and third-party payment fees decrease to 1%.
The Advanced plan at $399 monthly ($299 annually) provides advanced reporting, 15 staff accounts, third-party calculated shipping rates, and the ability to collect duties and import taxes at checkout. Payment processing falls to 2.4% + 30¢, with just 0.5% for external gateways.
Shopify Plus starts at $2,300 monthly and targets high-volume businesses processing substantial revenue. Custom pricing includes dedicated support and enterprise features.
Hidden Costs to Consider
Beyond monthly subscriptions, budget for these additional expenses:
Domain names typically cost $15-20 per year. You can buy directly through Shopify or transfer an existing domain.
Premium themes range from $180-500 as one-time purchases. Free themes work fine for starting, but paid options often include better customization and built-in features.
Apps add functionality but many charge monthly fees. Budget $20-100 monthly for essential apps like email marketing, SEO optimization, or product reviews.
Marketing expenses vary widely. Plan to spend at least $100-500 monthly on advertising once you’re ready to scale beyond free traffic sources.
Choosing Your Starting Plan
Start with Basic if you’re just launching. The plan includes everything needed to test your concept and make sales. Processing fees are slightly higher, but the $60-70 monthly savings matters more when starting out.
Consider the Grow plan once you’re consistently making 100+ sales monthly. The lower transaction fees offset the higher subscription cost, and additional staff accounts help if you hire help.
Only move to Advanced when you’re selling internationally at significant volume. The duty and tax collection features primarily benefit stores shipping across borders frequently.
Designing Your Store
Your store’s appearance directly impacts whether visitors trust you enough to buy. Professional design matters, but you don’t need to be a designer to create something that works.
Choosing a Theme
Shopify provides over 100 themes—about 10 free options and 90+ paid ones. Free themes like Dawn, Sense, and Studio include solid features for beginners. They’re well-coded, mobile-responsive, and regularly updated.
Browse themes in your admin dashboard under “Online Store” > “Themes.” Filter by style, features, or price to narrow options. Each theme includes a preview button so you can see how different content looks before installing.
Look for these features when choosing:
Mobile responsiveness is non-negotiable—over 60% of online shopping happens on phones. Test any theme on your mobile device before committing.
Quick-loading speed affects both conversions and SEO. Themes with heavy animations or excessive features can slow down your store.
Built-in features like product filtering, mega menus, or promotional banners save money on apps later. Review what’s included in each theme’s demo.
Customizing Your Design
After installing a theme, click “Customize” to open the theme editor. This visual interface lets you change colors, fonts, layouts, and content without touching code.
Start with these essential customizations:
Logo and branding: Upload your logo in the header section. If you don’t have one yet, use a business name generator for ideas, then create a simple text-based logo using free tools like Canva.
Color scheme: Choose 2-3 main colors that match your brand. Use them consistently throughout your store for buttons, headers, and accents. Most themes let you set primary and accent colors in the theme settings.
Homepage layout: Add sections for featured products, promotional banners, customer testimonials, and your unique selling points. Most themes use drag-and-drop blocks you can rearrange.
Navigation menu: Create a clear menu structure. Main categories go in the header navigation, while policies and information pages belong in the footer. Keep main navigation to 5-7 items so it doesn’t overwhelm visitors.
Typography: Choose readable fonts. Fancy scripts look nice but can be hard to read, especially on mobile devices. Stick with clean, modern typefaces for body text.
Essential Pages to Create
Beyond your homepage and product pages, add these standard pages:
An About page tells your story and builds trust. Share why you started the business, what makes your products different, and include a photo of yourself or your team.
A Contact page should include multiple ways to reach you: email address, contact form, and business hours. Consider adding your physical location if you have one.
FAQ page answers common questions about shipping times, return policies, sizing, and product care. This reduces customer service emails and helps conversions.
Policy pages (covered in detail later) include Privacy Policy, Terms of Service, Refund Policy, and Shipping Policy.
Adding Your First Products
Product pages do the selling when you’re not there. Well-written descriptions and quality images can dramatically increase your conversion rate.
Product Information Setup
Navigate to “Products” > “Add product” to create your first listing. You’ll fill out several fields:
Title: Use clear, searchable names. “Men’s Blue Cotton T-Shirt” works better than “Summer Vibes Tee” because it matches what people actually search for. Include key details like color, material, or size in the title.
Description: Start with the main benefit—what problem does this solve or what desire does it fulfill? Then cover features, materials, dimensions, and care instructions. Use short paragraphs and bullet points for easy scanning.
Good product descriptions answer these questions: What is it? Who is it for? What makes it special? How do you use it? What should buyers know before purchasing?
Tools like our Shopify product description generator can help draft initial content, which you then customize for your specific products.
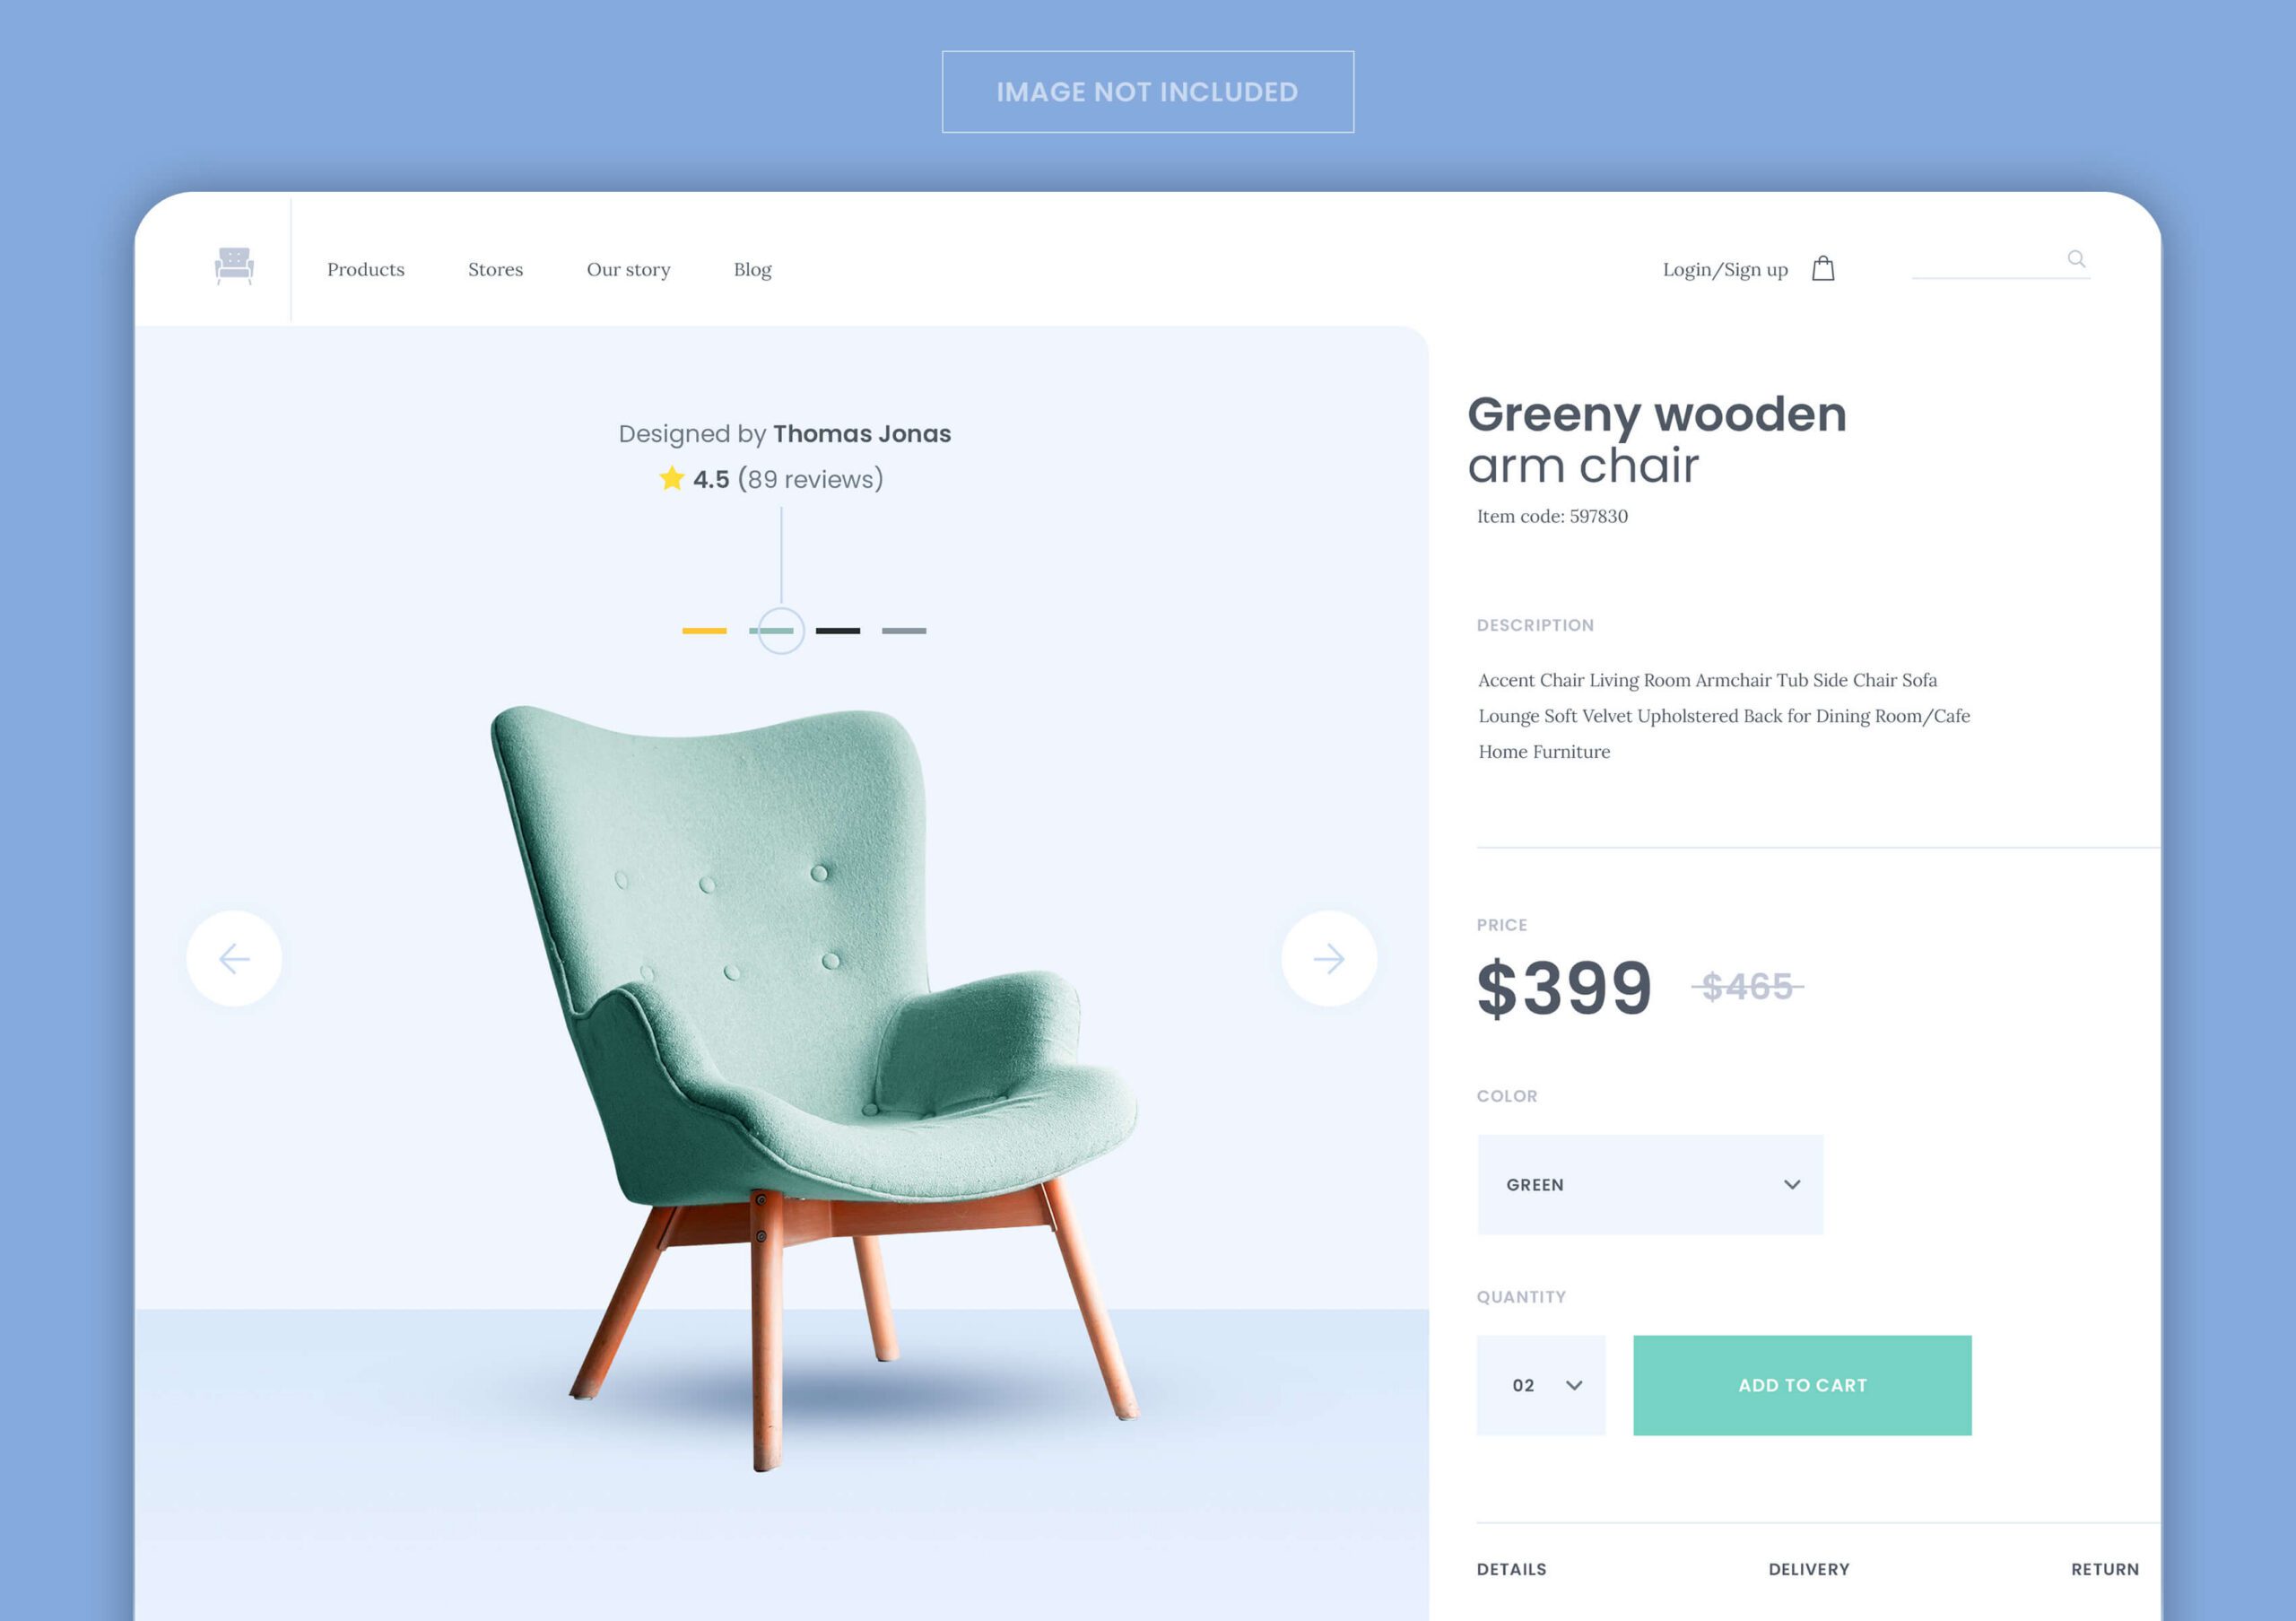
Product Images That Sell
Images directly impact whether people buy. Professional photos aren’t mandatory, but your images should be clear, well-lit, and show the product accurately.
Include multiple angles—front, back, sides, and detail shots of important features. If selling clothing, show how items fit on actual bodies. For products with scale concerns, include size comparison shots next to familiar objects.
Use a simple background that doesn’t distract from the product. White or light gray backgrounds keep focus on what you’re selling.
Lifestyle photos showing products in use help customers visualize owning them. If you sell coffee mugs, show someone enjoying morning coffee. These emotional connections boost sales.
Image dimensions matter for site speed. Aim for 2048 x 2048 pixels maximum, and compress files before uploading. Large image files slow down your store, especially on mobile.
Pricing Your Products
Setting prices requires balancing profit margins with market competitiveness. Calculate your total costs first: product cost, shipping to you, packaging materials, Shopify fees, shipping to customers, and estimated return rate (usually 5-10%).
Mark up your costs by at least 50-100% to leave room for profit, advertising expenses, and operational costs. So if a product costs you $10 all-in, price it at $20-30 minimum.
Research competitor pricing for similar products. You don’t need to be the cheapest—competing on price alone is difficult for small stores. Instead, justify higher prices through better service, faster shipping, or unique features.
Consider psychological pricing. Products priced at $29.99 often sell better than those priced at $30.00, even though the difference is minimal.
Inventory and Variants
Enable inventory tracking in each product listing. This prevents overselling and helps you know when to restock.
Set up variants if products come in different options like size, color, or style. Shopify lets you create up to three variant types per product (for example: size, color, and material).
Add SKUs (Stock Keeping Units) to track individual variants. These unique identifiers help with inventory management as your catalog grows.
Setting Up Payment Methods
Customers can’t buy without a way to pay you. Setting up payment processing correctly prevents delays in receiving your money.
Shopify Payments
Shopify Payments is the built-in payment processor. It’s the easiest option because it integrates seamlessly and charges no additional transaction fees beyond standard processing rates.
To activate: Go to Settings > Payments. Click “Activate Shopify Payments.” Enter your business information, bank account details, and tax identification number if required.
Shopify Payments accepts major credit cards, Apple Pay, Google Pay, and Shop Pay. Customers see these options automatically at checkout without you installing anything extra.
Payouts transfer to your bank account on a schedule you set—typically every 1-3 business days. New stores often have a 5-7 day holding period initially while Shopify verifies your account.
Alternative Payment Gateways
If Shopify Payments isn’t available in your country, or you prefer another option, you can add third-party payment processors like PayPal, Stripe, Square, or regional providers.
The downside is additional transaction fees on top of processing costs. Basic plan charges 2%, Grow plan charges 1%, and Advanced charges 0.5% extra for external gateways.
To add alternative payments: In Settings > Payments, scroll to “Additional payment methods.” Click “Choose provider” and select from available options. Install their app and follow the setup process.
Payment Security
Enable two-factor authentication on your Shopify account. This adds an extra security layer preventing unauthorized access to your payment settings and customer data.
Never share your payment gateway credentials or admin passwords. Use strong, unique passwords for each service.
Shopify handles PCI compliance for you, meaning customer payment information stays encrypted and secure. You don’t need separate SSL certificates—they’re included in all plans.
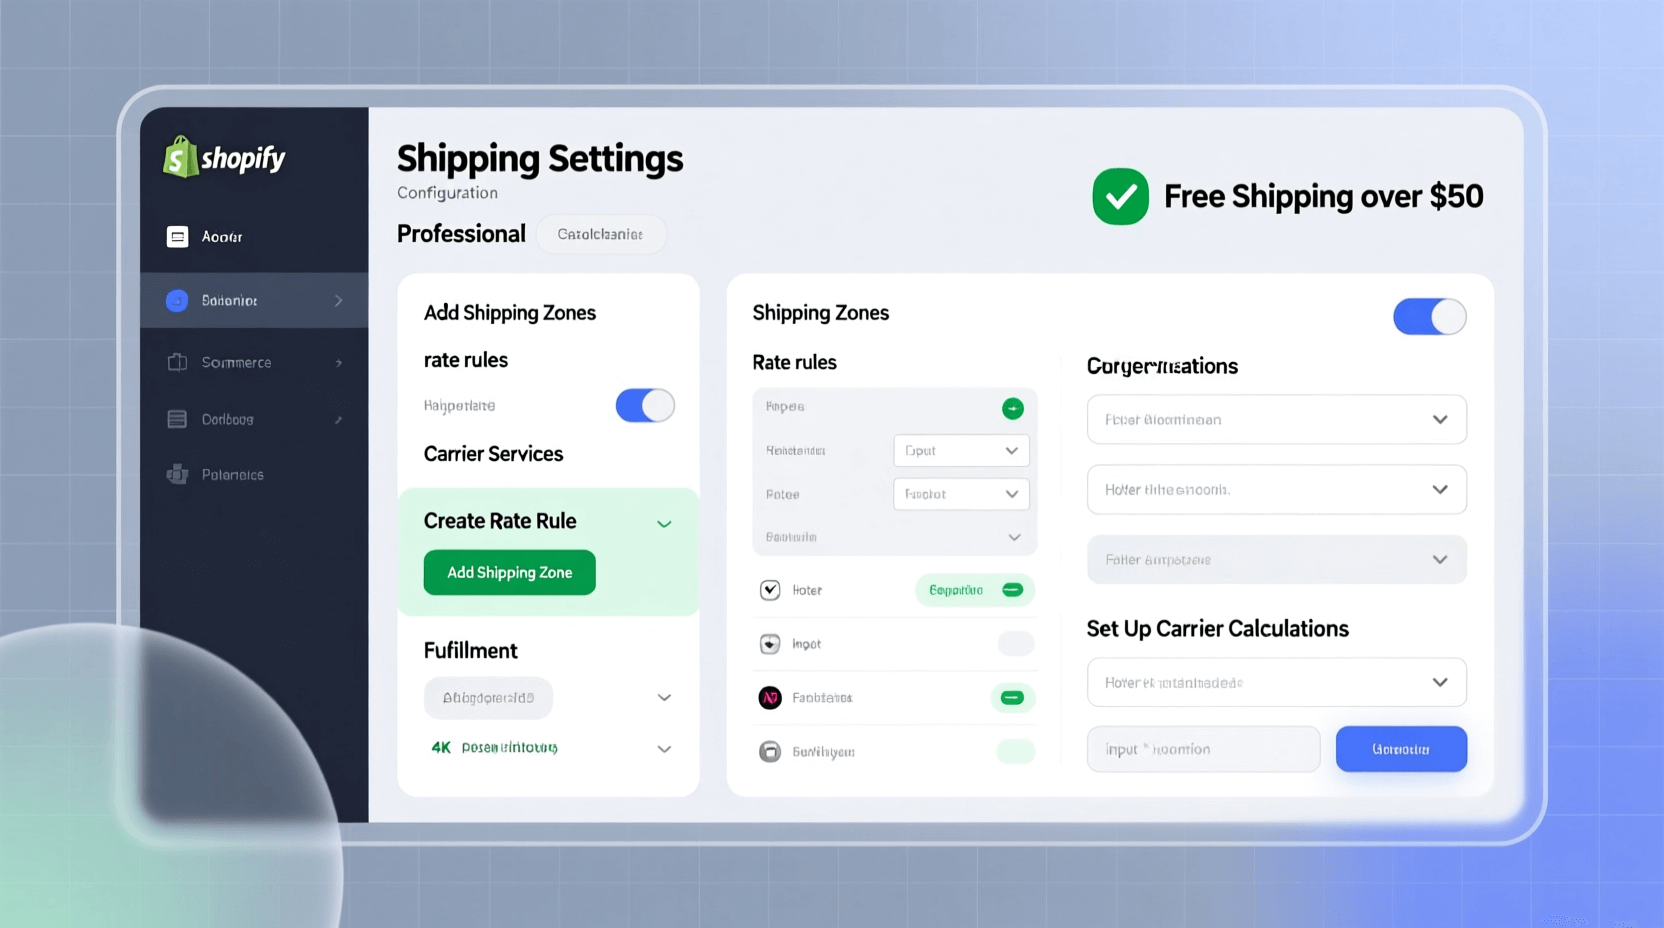
Configuring Shipping and Taxes
Shipping strategy affects your profit margins and conversion rate. Free shipping sounds appealing but you’ll need to factor those costs into product pricing.
Shipping Zones and Rates
Shopify lets you create shipping zones based on customer location. Most stores start with domestic shipping only, then add international options later.
To set up shipping: Go to Settings > Shipping and delivery. Add your first shipping zone (like “United States”). Choose which states or regions to include. Set shipping rates based on your strategy.
Common shipping approaches include:
Flat rate shipping: Charge the same amount regardless of order size or location within a zone. This is simple but might undercharge or overcharge depending on the order.
Free shipping: Increases conversions but requires building shipping costs into product prices. Consider offering free shipping over a minimum order amount (like $50) to increase average order value.
Carrier-calculated rates: Shopify connects with USPS, UPS, FedEx, and DHL to show real-time shipping costs at checkout. This is the most accurate but requires the Grow plan or higher.
Tiered shipping: Different rates based on order value or weight. For example, $5 for orders under $50, free over $50.
Shipping Discounts
All Shopify plans include discounted shipping rates with major carriers. Basic plan gets up to 77% off, while Advanced plan receives up to 88% off commercial rates.
These discounts can significantly reduce your costs. A package that might cost $9 at retail rates could cost $3-4 with Shopify’s discounts.
You’ll print shipping labels directly from your order page. Shopify automatically updates the tracking number and sends it to your customer.
Tax Configuration
Shopify can automatically calculate sales tax based on customer location, but you need to configure where you have tax obligations.
In Settings > Taxes and duties, you’ll see tax settings for different regions. Enable collection where required by law—typically where you have inventory, a physical location, or exceed economic nexus thresholds.
For US sellers, Shopify partners with TaxJar and Avalara to handle complex multi-state tax requirements. These paid services automatically calculate rates, file returns, and remit payments.
International sellers need to handle VAT, GST, or other regional taxes. Enable “Collect duties and import taxes” if selling cross-border to show customers the full landed cost upfront.
Tax rules change frequently. Review your settings quarterly and consult a tax professional for guidance specific to your situation.
Domain Setup and Store Policies
Your domain name becomes your store’s permanent address. While you can change it later, starting with the right domain saves confusion.
Choosing and Connecting a Domain
You can buy domains through Shopify for around $15 per year, or purchase elsewhere (like Namecheap or GoDaddy) and connect it to your store.
Good domain names are short, memorable, and match your business name. Avoid hyphens, numbers, or unusual spellings that people might forget or mistype.
To add a custom domain: Go to Settings > Domains. Choose “Buy new domain” or “Connect existing domain.” Follow the prompts to complete purchase or connection.
DNS changes can take 24-48 hours to fully propagate. Your store remains accessible via the myshopify.com URL during this transition.

Essential Store Policies
Legal pages protect your business and set clear expectations with customers. Shopify can generate templates for standard policies.
In Settings > Policies, you’ll find templates for:
Privacy Policy: Required by law in most jurisdictions. It explains what customer data you collect and how you use it. Shopify’s template covers basics, but customize it if you use additional tracking tools or marketing services.
Terms of Service: Sets rules for using your website and outlines your rights if disputes arise. This protects you legally if customers misuse your site.
Refund Policy: Clearly states whether you offer refunds, exchanges, or store credit, and under what conditions. Being upfront about this builds trust and reduces disputes. Many sellers offer 30-day returns for unopened items.
Shipping Policy: Details processing times, shipping methods, and what to do if packages are lost or damaged. Set realistic expectations here—under-promise and over-deliver.
Add these pages to your footer navigation so customers can easily find them. Though most people won’t read them, having professional policies increases trust and legitimacy.
Pre-Launch Checklist
Before removing your password protection and going live, work through this checklist to catch common mistakes.
Content Review
Review every product description for spelling and grammar errors. Typos undermine credibility and trust. Read everything out loud or have someone else proofread.
Check that all images load properly and look good on both desktop and mobile. Test your site on different devices if possible.
Verify all links work, especially in your navigation menus and footer. Broken links frustrate visitors and hurt SEO.
Ensure your About page, Contact page, and policies are complete and accurate. These pages build trust with first-time visitors.

Functionality Testing
Place a test order yourself. Add items to cart, go through checkout, and complete a purchase using Shopify’s test mode or a real payment you’ll refund.
This reveals any issues with your checkout process, payment processing, order confirmation emails, or fulfillment workflow.
Test discount codes if you’ve created any. Make sure they apply correctly and show the right discount amounts.
Verify that order confirmation and shipping notification emails send properly and look professional. These are often the first branded communications customers receive.
SEO Basics
Add meta titles and descriptions to your homepage, product pages, and collection pages. These show in Google search results and affect click-through rates.
Include your main keywords naturally in product titles, descriptions, and page content. Don’t stuff keywords—write for humans first, search engines second.
Optimize image file names and alt text. Instead of “IMG_1234.jpg,” use “blue-cotton-t-shirt-front.jpg.” Alt text should describe what’s in the image for accessibility and SEO.
Submit your sitemap to Google Search Console. Shopify automatically generates a sitemap at yourstore.com/sitemap.xml. Adding it to Search Console helps Google find and index your pages faster.
Final Technical Checks
Enable analytics by connecting Google Analytics 4. This free tool shows where traffic comes from, which pages perform best, and where you’re losing potential customers.
Set up Facebook Pixel if you plan to run Facebook or Instagram ads. Installing it now lets you collect data before advertising starts.
Double-check your shipping settings. Verify rates make sense for different order sizes and destinations.
Confirm your payment gateway is properly connected and test mode is disabled.
Getting Your First Sale
Launching your store feels exciting, but the real work begins now. Making your first sale requires actively driving traffic to your site.
Free Traffic Sources
Start by telling people you know. Share your store link on personal social media accounts—Facebook, Instagram, LinkedIn. Ask friends and family to share with their networks.
This might feel awkward, but your first customers often come from personal connections. Even if your inner circle doesn’t buy, they help spread awareness and might refer actual customers.
Join relevant online communities where potential customers hang out. Reddit has subreddits for nearly every interest. Facebook has groups for hobbyists, professionals, and enthusiasts. Share your expertise in these communities first, then mention your store naturally when relevant.
Don’t spam promotional links—that gets you banned. Instead, be genuinely helpful. Answer questions, share knowledge, and include your store URL in your profile or signature where allowed.
First Customer Incentives
Offer a launch discount to give people a reason to buy now rather than later. A 15-20% off code for your grand opening creates urgency.
Consider running a giveaway on social media. Ask people to follow your account and tag friends for a chance to win a product. This builds your following quickly, though not everyone will convert to paying customers.
Email your personal contacts directly with a launch announcement and special discount just for them. Personal outreach often works better than public posts.
Content Marketing
Start a blog on your Shopify store. Write helpful content related to your products that people might search for on Google.
If you sell hiking gear, write about “Best Hiking Trails in [Your State]” or “How to Choose a Hiking Backpack.” Include your products naturally within these articles.
This takes time to show results—typically 3-6 months before you see meaningful traffic. But it’s free and compounds over time as you build a library of content.
SEO tools like our keyword generator can help identify topics people actually search for in your niche.
Paid Advertising
Once you have some traffic and data, consider investing in paid ads. Start small—$5-10 per day—to test what works.
Facebook and Instagram ads work well for visual products and let you target specific demographics, interests, and behaviors. Start with traffic campaigns to test which creative works, then move to conversion campaigns.
Google Ads work better for products people actively search for. If you sell “waterproof hiking boots,” Google Shopping ads can put you in front of people searching that exact term.
Create a few different ad variations and let them run for at least 5-7 days before judging results. Small sample sizes give misleading data.
Retargeting Visitors
Most people won’t buy the first time they visit. Install Facebook Pixel and Google Ads tracking to enable retargeting.
Retargeting shows ads to people who’ve already visited your store. These “warm” visitors convert at much higher rates than cold traffic because they’re already familiar with your brand.
Create retargeting ads highlighting products people viewed, offering a small discount, or showcasing customer reviews. These reminders often push hesitant visitors to complete purchases.
Email Marketing Foundation
Start collecting email addresses from day one. Add an email signup popup offering a 10% discount or free shipping in exchange for joining your list.
Send welcome emails to new subscribers introducing your brand and products. Set up abandoned cart emails to remind people when they leave items in their cart without buying.
Email marketing generates $36-$42 for every dollar spent, making it one of the highest ROI channels. Apps like Klaviyo or Mailchimp integrate with Shopify and automate most of the process.
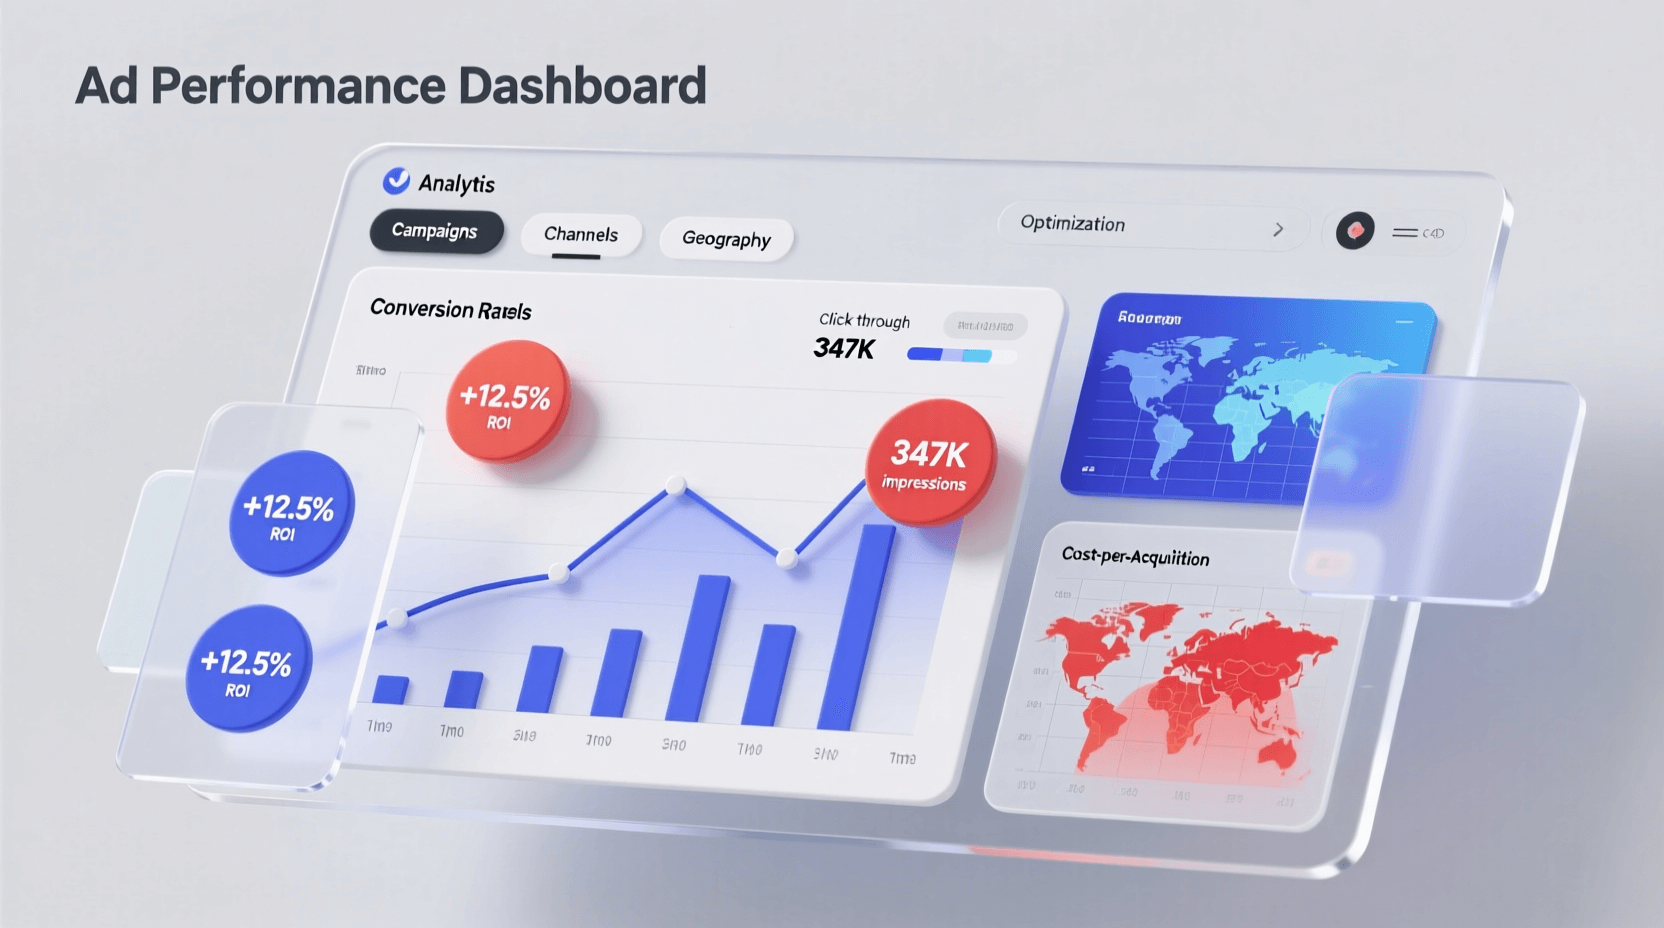
Optimizing for Conversions
As traffic increases, focus on converting more visitors into customers. Small improvements in conversion rate dramatically impact revenue.
Add product reviews to build trust. Apps like Judge.me or Loox make this easy. Reach out to initial customers and ask them to leave reviews in exchange for a discount on their next order.
Use high-quality product images showing multiple angles. Add short video clips demonstrating products in use.
Simplify your checkout process. Remove unnecessary form fields and offer guest checkout so people can buy without creating an account.
Display trust signals like security badges, return policies, and customer testimonials prominently on product pages.
Test different elements over time—button colors, call-to-action text, product description formats. Small tweaks often lead to meaningful improvements.
Frequently Asked Questions
How long does it take to make your first sale on Shopify?
The timeline varies widely based on your product, marketing efforts, and existing audience. Some sellers make their first sale within days by promoting to personal networks. Others take weeks or months while building traffic through SEO and ads. Actively promoting your store through multiple channels speeds up the process. Don’t expect sales to happen automatically just because your store exists.
Can you make money on Shopify without advertising?
Yes, through organic methods like SEO, social media content, email marketing, and word-of-mouth. Many successful stores start without paid ads by creating valuable content, engaging in communities, and building relationships with customers. However, paid advertising typically accelerates growth once you’ve validated your product and optimized your store.
What are Shopify transaction fees?
With Shopify Payments, you only pay credit card processing fees (2.9% + 30¢ on Basic, 2.7% + 30¢ on Grow, 2.4% + 30¢ on Advanced). If you use external payment processors like PayPal, Shopify charges additional transaction fees (2% on Basic, 1% on Grow, 0.6% on Advanced) on top of what your payment processor charges.
Do I need a business license to sell on Shopify?
Shopify doesn’t require a business license to create a store, but your local laws might. Requirements vary by location and what you’re selling. Most regions require some form of business registration once you reach certain sales thresholds. Food, cosmetics, and alcohol typically require special permits. Check with your local government or consult a business attorney to understand requirements in your area.
How much inventory do I need to start?
You can start with just one product. Many successful stores launch with a small selection (3-10 items) rather than trying to offer everything at once. This reduces initial costs and lets you test what sells before investing heavily in inventory. Dropshipping and print-on-demand models require no inventory investment at all.
What’s the best Shopify theme for beginners?
Free themes like Dawn, Sense, or Studio work well for beginners. They include essential features, load quickly, and receive regular updates. Start with a free theme and only invest in premium themes once you’re making consistent sales and understand what additional features you need.
How do I handle returns and refunds?
Create a clear refund policy stating your terms—timeframe for returns, condition requirements, who pays return shipping, etc. When customers request returns, process them through your Shopify admin under Orders. You can issue full refunds, partial refunds, or store credit. Most sellers offer 30-day returns on unused items to balance customer satisfaction with minimizing abuse.
Should I start with one product or multiple products?
Both approaches work. Single-product stores let you focus all marketing efforts on one item, making messaging clearer and advertising more effective. Multi-product stores offer more options for different customer preferences and increase average order value. If you’re unsure, start with 3-5 related products that appeal to the same target customer.
How do I price products competitively?
Calculate all costs first: product, shipping, packaging, platform fees, returns, and marketing. Mark up by 50-100% minimum to ensure profit. Research competitor pricing but don’t compete solely on price—small stores can’t win race-to-bottom pricing against large retailers. Instead, justify prices through quality, service, unique features, or specialized knowledge.
What payment methods should I offer?
At minimum, accept major credit cards (Visa, Mastercard, American Express, Discover). Shopify Payments includes these plus Apple Pay and Google Pay automatically. Consider adding PayPal as many customers prefer it, especially for first purchases from unknown stores. Regional payment methods become important if selling internationally—things like iDEAL in the Netherlands or SEPA in Europe.
Building a Shopify store from concept to first sale takes effort, but the platform removes most technical barriers. Focus on choosing the right products, creating clear product pages, and actively promoting your store through multiple channels. Your first sale validates the concept, but sustained success comes from consistently refining your approach based on what works. Start with the basics, test different strategies, and adjust based on actual results rather than assumptions. With persistence and smart marketing, your Shopify store can grow from that first exciting sale into a sustainable business.