Your iPhone is already a better camera than what most YouTube channels started with five years ago. The difference between amateur footage and professional-looking video is not the device. It is lighting, audio, stability, and editing.
This guide covers how to film, edit, and repurpose iPhone video for social media without buying gear you do not need.
Why you should use iPhone Videos for Social Media
iPhone cameras now shoot 4K at 60fps with optical stabilization, cinematic mode, and advanced low-light processing. For Instagram Reels, TikTok, YouTube Shorts, and LinkedIn video, that is more than enough.
Audiences on short-form platforms actually prefer iPhone-style footage. It feels immediate and real. Overproduced content gets scrolled past because it looks like an ad. A talking head filmed on an iPhone in good light looks like a person worth listening to.
The phone also removes friction. You can film, edit, and post from the same device in under an hour. No file transfers, no import queues, no waiting on a desktop render. That speed matters when consistency is the real algorithm hack.
iPhone Video Settings You Should Change Before Filming
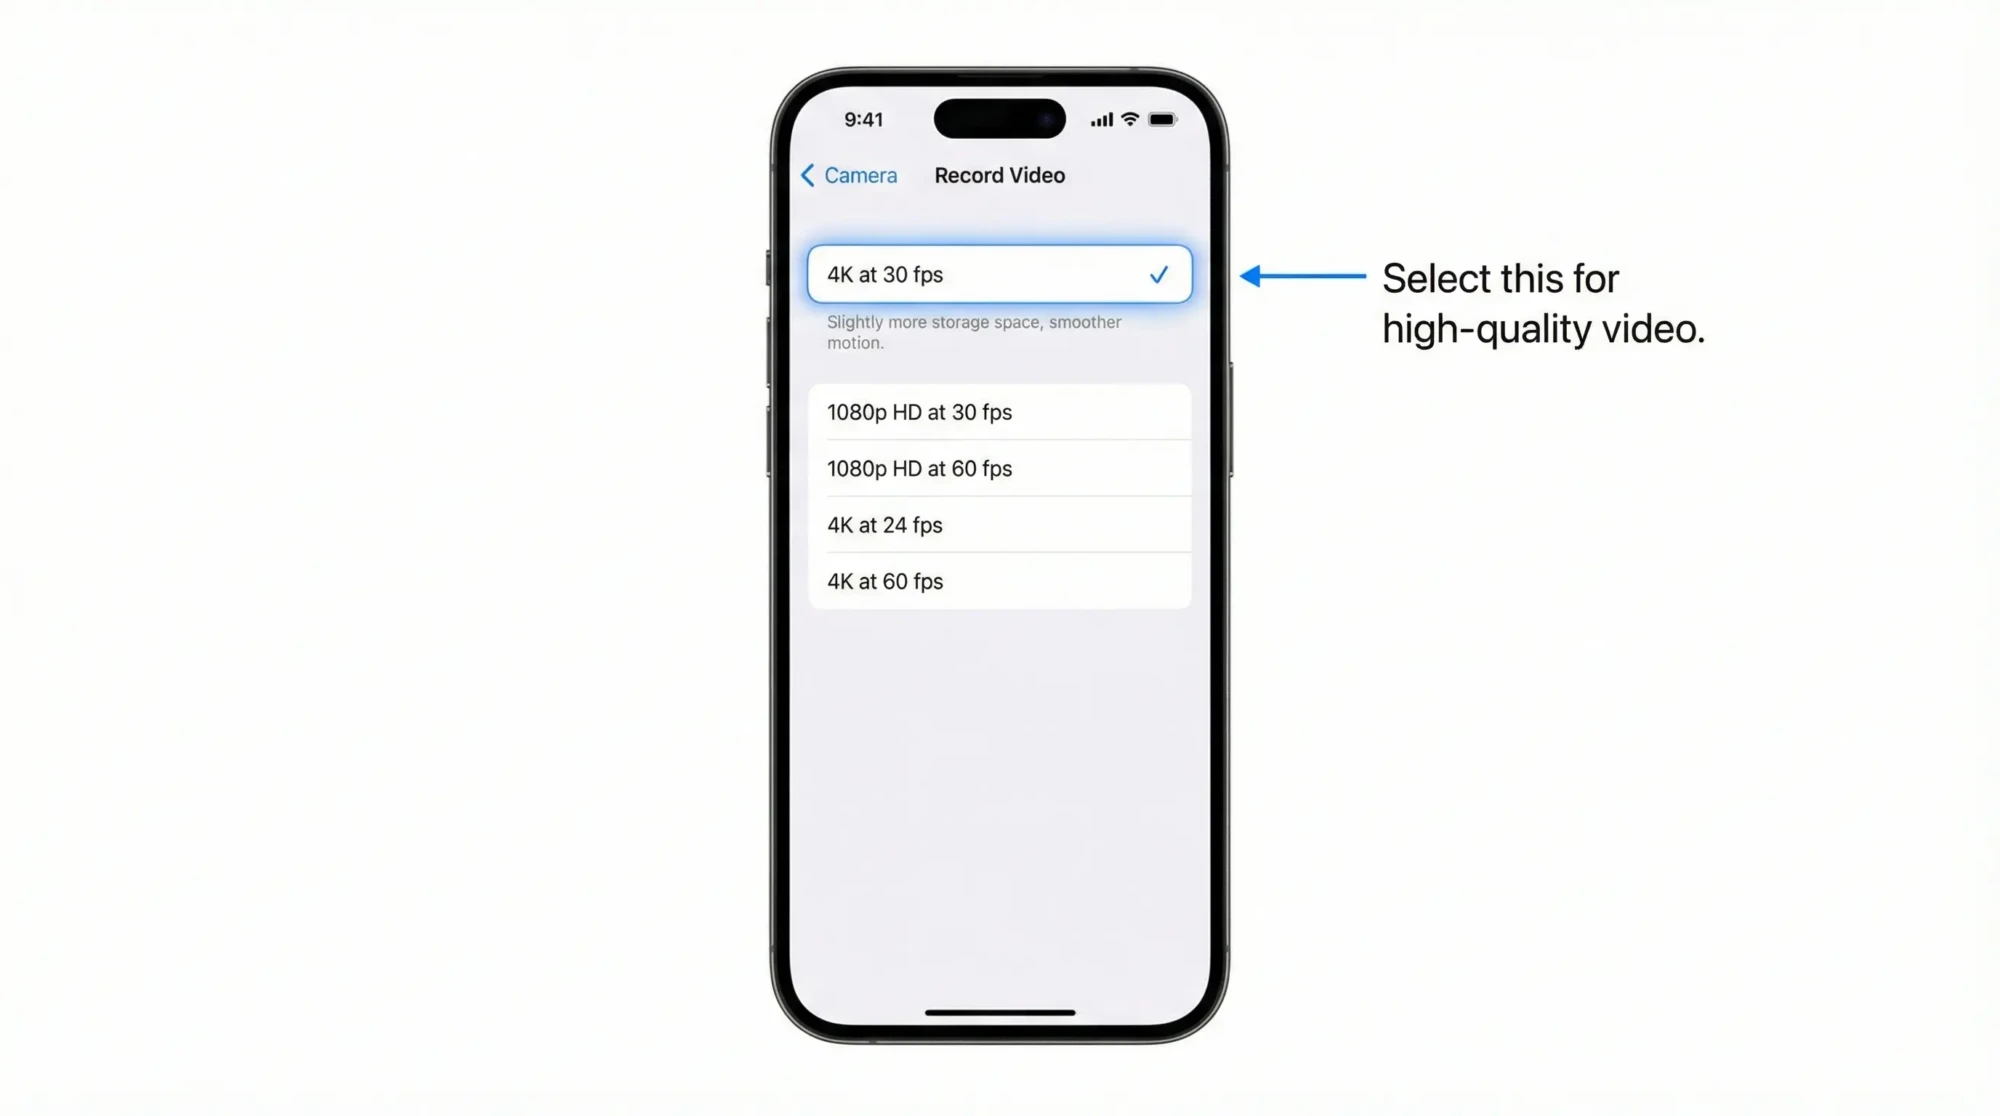
Open Settings, then Camera, then Record Video. Set it to 4K at 30fps for most social content. 30fps looks natural for talking heads and tutorials. Switch to 60fps if you are filming movement or plan to slow footage down in editing.
Turn on Enhanced Stabilization under Action Mode settings. This smooths out handheld movement without needing a gimbal for walking shots or product demos.
Lock your exposure and focus before you start recording. Press and hold the screen on your subject until you see AE/AF Lock. This prevents the camera from hunting mid-take when something moves in the background or lighting shifts slightly.
Shoot in the native Camera app unless you need manual controls. Filmic Pro and Blackmagic Camera give you more control over white balance and frame rate, but for most social media video the default app is fast and reliable.
How to Light and Record Clean iPhone Video
Lighting and audio are where cheap video looks cheap. Get these two right and everything else falls into place.
Natural Lighting Setup for iPhone Video
Face the subject toward a window. Position the iPhone between the subject and the window so the light falls evenly on the face. This is your free key light and it works better than most ring lights.
Overcast days are ideal. Direct sun creates harsh shadows. If sunlight is strong, hang a sheer curtain or tape a white bedsheet over the window to diffuse it.
Turn off overhead room lights. They cast downward shadows under the eyes and add a yellow or green tint that fights the daylight. One clean light source looks better than three competing ones.
If you need a fill light on the shadow side of the face, lean a white poster board or a propped-up white towel just out of frame opposite the window. It bounces enough light to soften shadows without adding another color temperature.
How to Get Good Audio on iPhone Without a Microphone
Bad audio kills good video faster than anything else. Viewers will tolerate average visuals but leave immediately when audio sounds echoey, distant, or muffled.
Distance is the biggest factor. The closer the iPhone is to the speaker’s mouth, the better the audio. Arm’s length is ideal if the phone is also your camera. If you can separate the shot, use a second phone or a voice memo recording from a phone placed close to the speaker, then sync in editing.
Record in a small, furnished room. Hard walls and empty spaces create echo. A bedroom with curtains, a closet full of clothes, or a living room with a couch and rug will all sound significantly better than a kitchen or bathroom.
If echo is still noticeable, place a folded blanket on the table in front of the speaker just below frame. This catches reflections from the desk or table surface, which is a common source of hollow-sounding audio.
Stabilization Without Buying a Gimbal
Shaky footage makes everything feel rushed and unplanned even when the content is good. You do not need a gimbal to fix this.
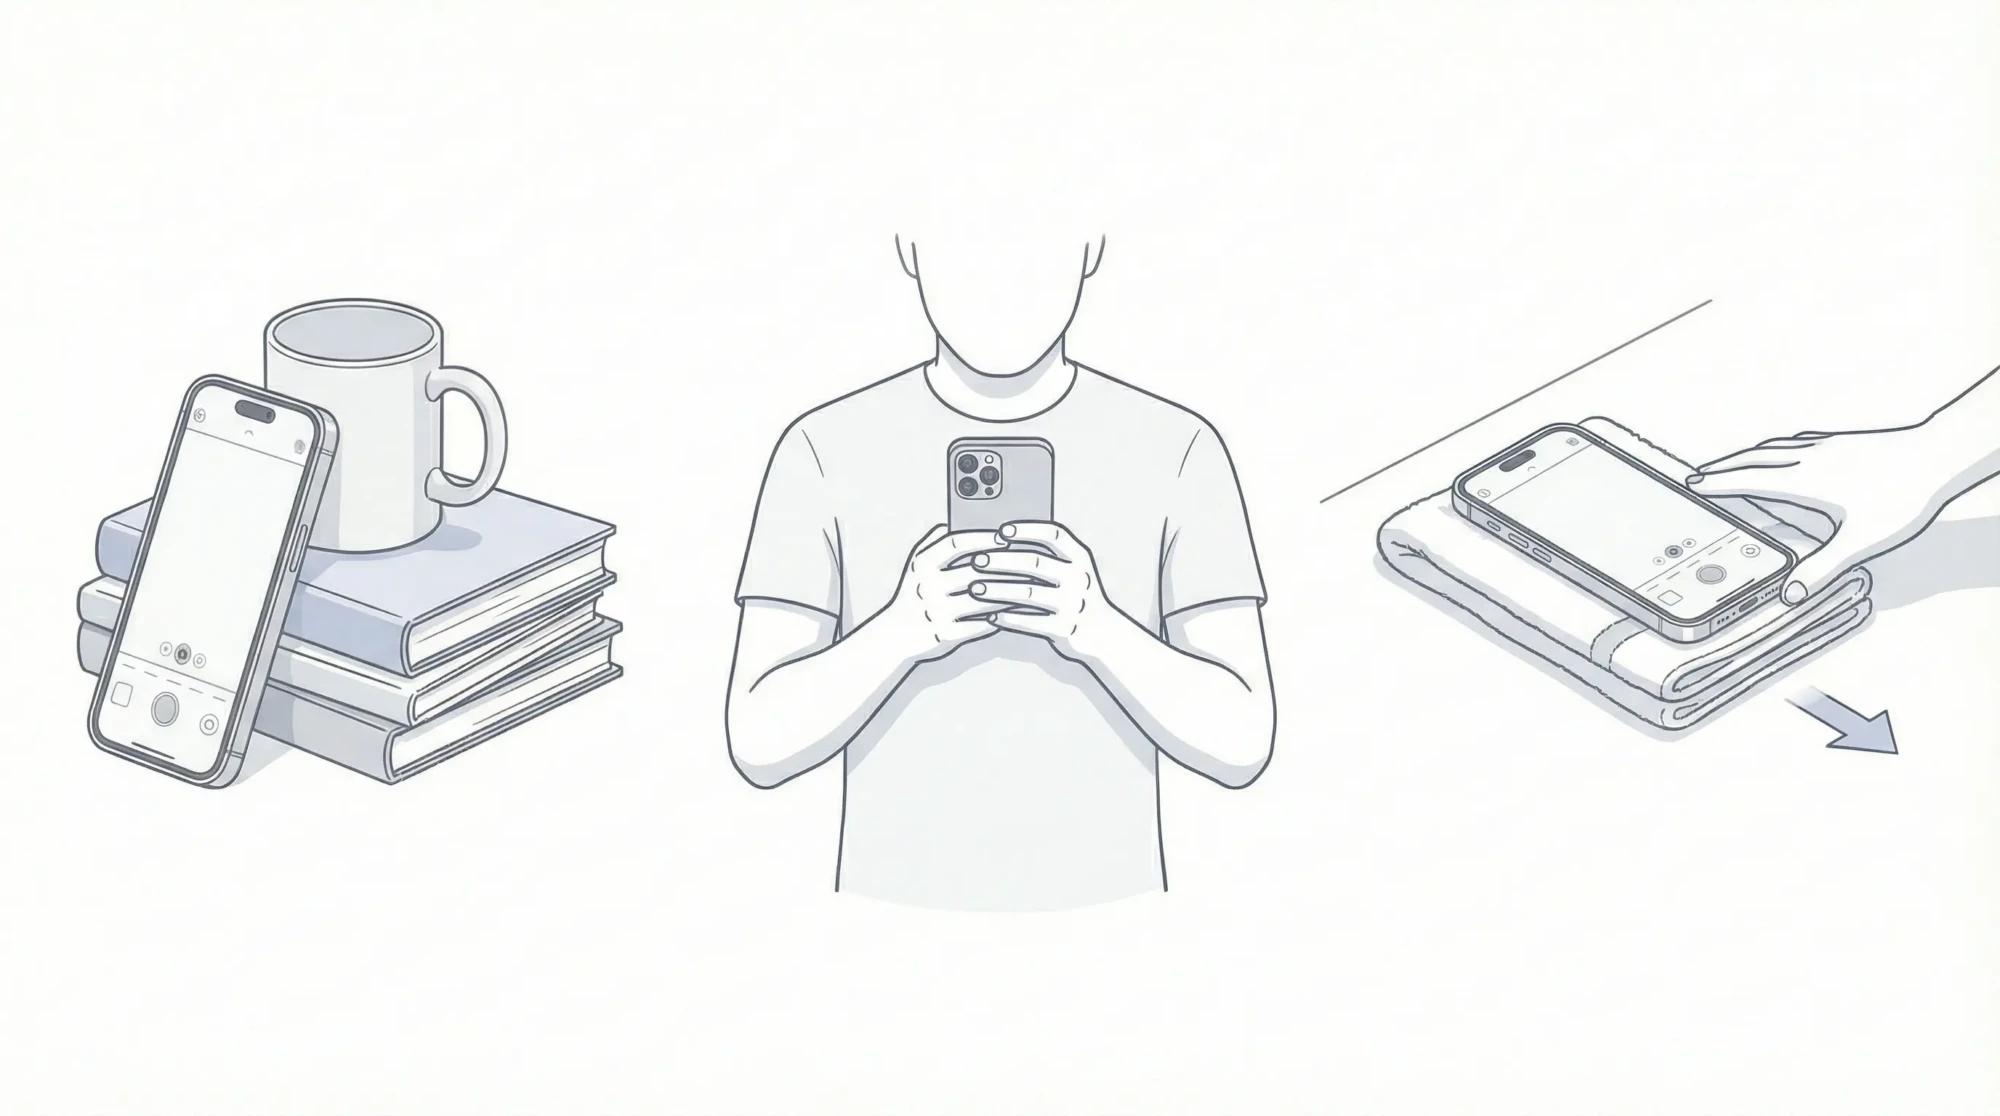
For stationary shots, stack a few books to the right height and lean the phone against a mug or water bottle. A rubber band wrapped around the phone and the mug keeps it from slipping. This works for talking heads, product demos, and tutorials.
For handheld shots, press both elbows into your ribs and hold the phone with two hands. This turns your torso into a stabilizer. Lean against a wall or doorframe for extra steadiness on longer takes.
For slow movement shots, place a towel on a flat surface and slide the phone across it. This gives you a smooth dolly-style motion for tabletop product shots or food content.
Composition matters once the shot is steady. Keep the subject’s eyes near the upper third of the frame. Leave space on one side if you plan to add captions or text overlays. Check the background for clutter — a clean, simple backdrop always looks more professional.
Best Free Editing Apps for iPhone Video
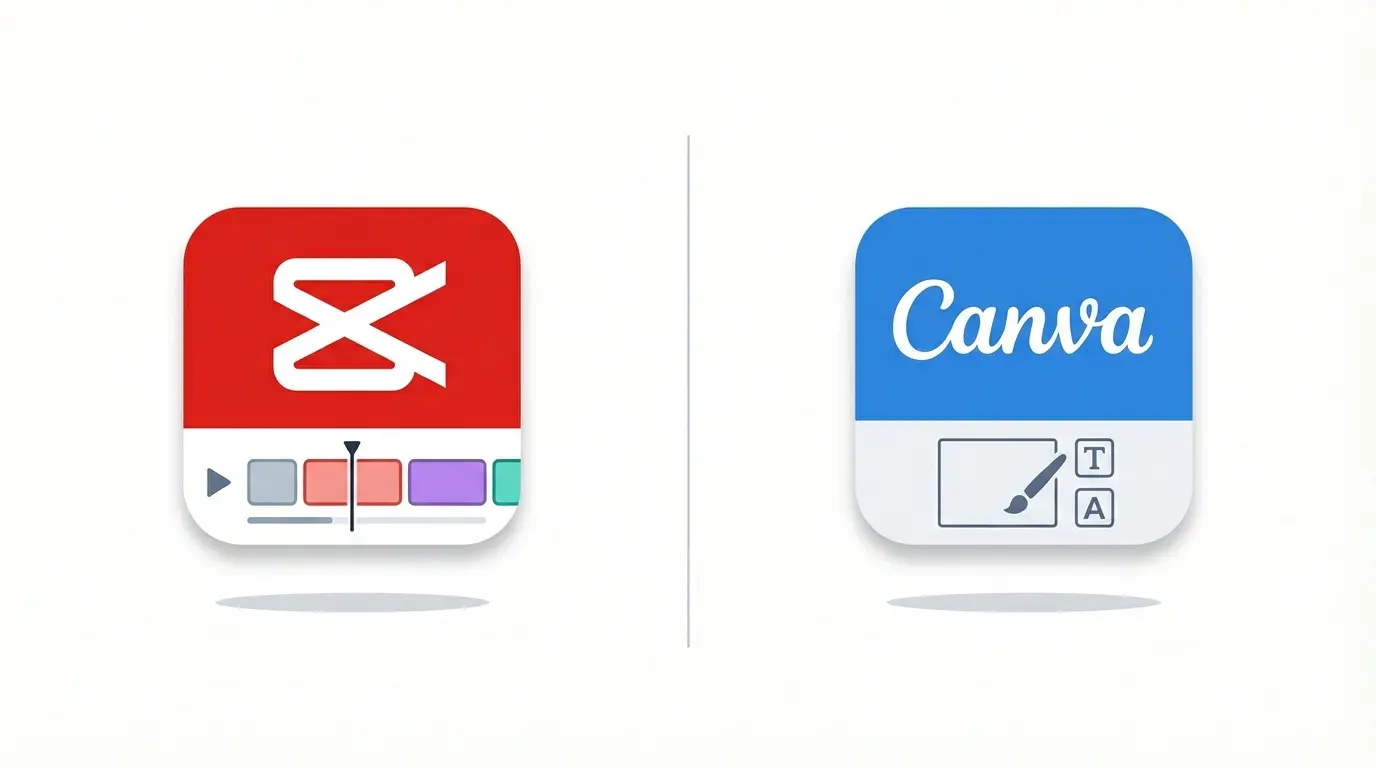
You do not need Final Cut or Premiere to edit social media video. Two free apps handle the majority of what creators need, and both run directly on iPhone.
CapCut for Short-Form Video Editing
CapCut is built for TikTok and Reels-style content. It handles trimming, captions, transitions, speed changes, and beat-synced cuts without a learning curve.
Auto-captions are the standout feature. Most social video is watched on mute, so readable subtitles are not optional. CapCut generates and styles them in minutes. You can adjust timing, font, and position without manual transcription.
Use CapCut when the video relies on pacing, audio, trending effects, or quick cuts. It is the fastest path from raw iPhone footage to a finished Reel or TikTok.
Canva for Graphics, Thumbnails, and Text-Heavy Content
Canva handles everything that is not pure video editing. Thumbnails, carousels, quote graphics, story templates, and simple video assemblies from static images all work well here.
It is especially useful for maintaining brand consistency. Set your colors, fonts, and logo once, then apply them across every format. Canva also resizes assets for different platforms in one click — 9:16 for Stories, 1:1 for feed posts, 4:5 for LinkedIn.
Use Canva when the content is text-forward, template-based, or needs to look consistent across platforms. For teams mixing design and copy, it pairs well with AI tools for content creators that speed up the writing side of the workflow.
When to Use Both Together
A common workflow is editing the video in CapCut, exporting it, then pulling it into Canva to add a branded cover frame, end card, or consistent typography. This gives you CapCut’s editing speed with Canva’s design polish.
For visuals that would normally require a full shoot, product renders, 3D mockups, or scene setups; image to 3D can generate basic assets from photos without expensive software or specialized skills. This is useful when you need supporting visuals but do not have time or budget for a separate production.
How to Repurpose One iPhone Video Into a Week of Content
Filming one longer video and slicing it into platform-specific pieces is more sustainable than creating individual posts from scratch every day. One ten-minute recording can produce a week of content across multiple platforms.
Film With Repurposing in Mind
Before you hit record, plan for extractable moments. Open with a clear hook sentence that works as a standalone clip. Include two or three self-contained tips that make sense without the full context. End with a single takeaway that can be turned into a text graphic.
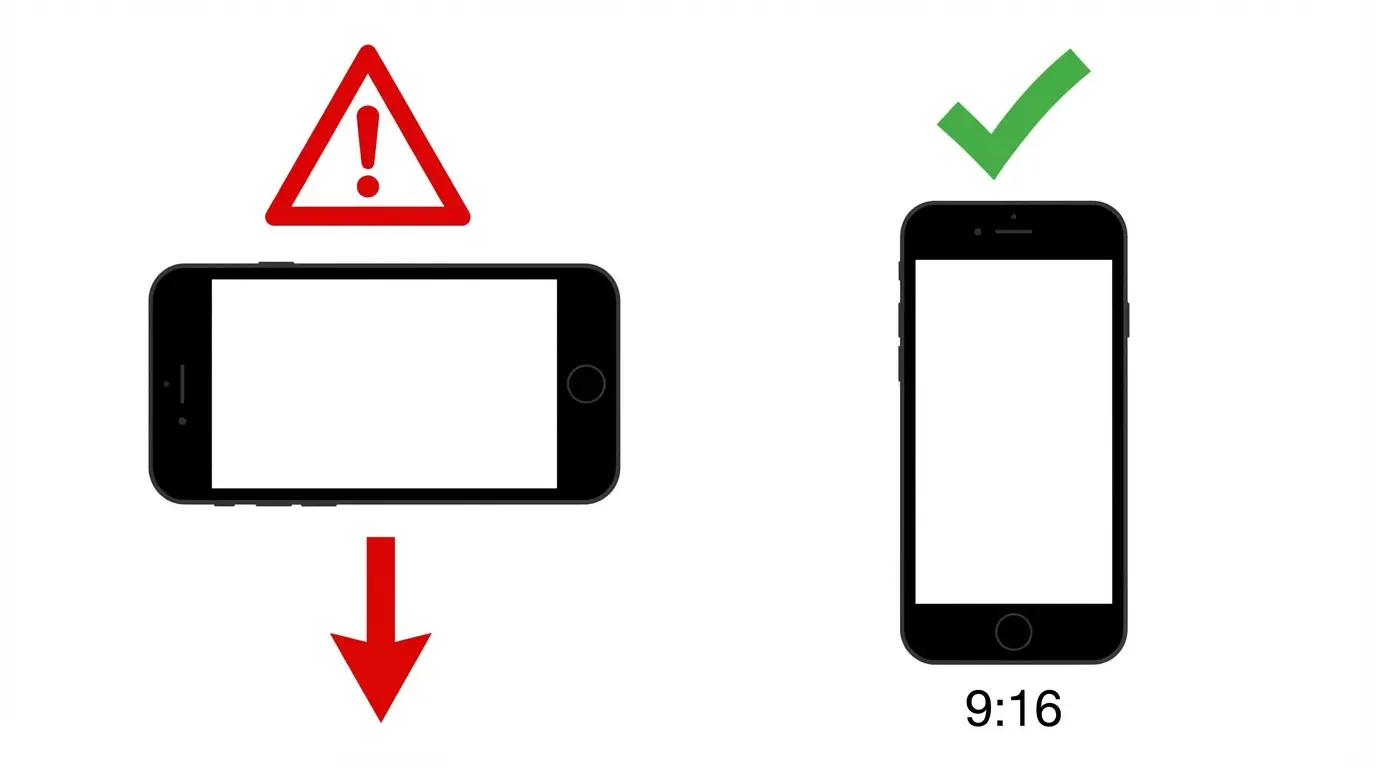
Film everything vertical in 9:16. It is native to TikTok, Reels, Stories, and Shorts. You can crop to 1:1 or 4:5 for feed posts later, but going from horizontal to vertical always loses quality and framing.
A Repeatable Repurposing Workflow
Start by editing one hero video — 60 to 90 seconds, captioned, with a clean cover frame. This is your main post for the week.
Next, pull two or three micro-clips from the longer footage. Each one should focus on a single point and run 15 to 30 seconds. These become separate Reels, TikToks, or Shorts on different days.
Take the strongest line or tip from the video and turn it into a text graphic or animated quote in Canva. Post this on days when you do not have video scheduled.
Use leftover B-roll as a Story sequence with simple text labels. This fills your Stories without new filming.
Write two different captions for the hero video — one conversational for Instagram, one more direct for LinkedIn. Repost the same video with the alternate caption a week or two later to catch a different audience segment.
Batch this process. Film two or three longer sessions in one setup, then edit all the hero videos first and complete the smaller pieces in a single pass. For faster cutting, captioning, and resizing across platforms, keeping a shortlist of social media AI tools alongside your editing apps saves significant time.
Using User-Generated Content to Fill the Gaps
You do not have to film everything yourself. Customer-created content fills your calendar and adds credibility that self-produced video cannot match.
Give people a specific prompt instead of a vague request. Ask for an unboxing video, a before-and-after, or a 30-second tip filmed on their phone in natural light. Provide a short caption template and one or two example clips so they know what you are looking for.
Get written permission in the same channel they submitted the content. Save the message. Credit them by tagging their handle and keeping their original caption when possible. Avoid edits that change the meaning or tone of what they created.
UGC works best when it stays contextual. Pair a customer clip with a short explainer you add in editing, put subtitles on it, and keep your branding light. It should feel like social proof, not an ad. Rotate different creators so the same faces do not dominate your feed.
Making This Sustainable
The system matters more than any individual post. Pick one filming setup from this guide — a window-lit talking head, a product demo on a book stack tripod, a walk-and-talk with stabilization. Get comfortable with it. Film weekly. Edit in batches. Repurpose everything.
Social platforms reward consistency over production value. A creator who posts solid iPhone video three times a week will outperform a brand that posts cinematic content once a month. The iPhone in your pocket is the only camera you need. The habit of using it is what makes the difference.